ISO 3034 pdf download
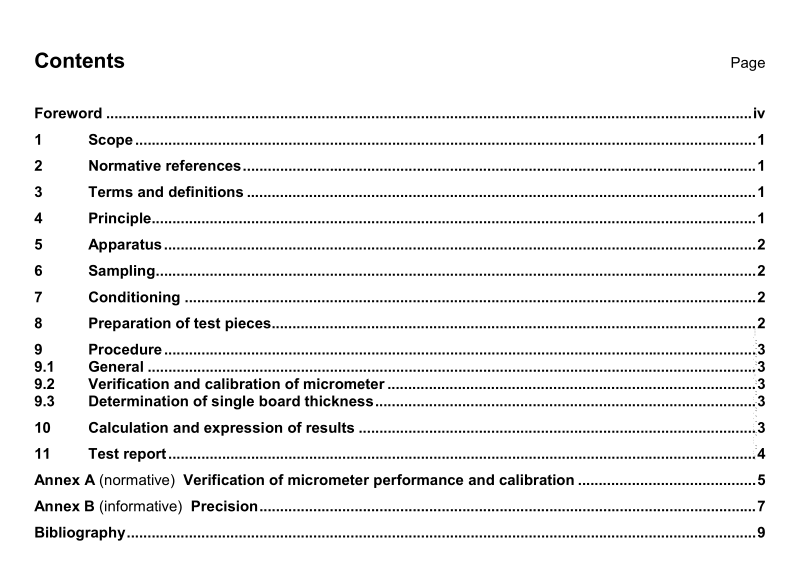
ISO 3034 pdf download Corrugated fibreboard — Determination of single sheet thickness
1Scope
This International Standard specifies a method for determining the single sheet thickness of corrugatedfibreboard intended for use in the manufacture of packing cases.
This International Standard is applicable to all types of corrugated fibreboard.
2Normative references
The following referenced documents are indispensable for the application of this document.For datedreferences,only the edition cited applies.For undated references, the latest edition of the referenceddocument (including any amendments) applies.
ISO 186, Paper and board -Sampling to determine average quality
ISO 187,Paper,board and pulps — Standard atmosphere for conditioning and testing and procedure formonitoring the atmosphere and conditioning of samples
3 Terms and definitions
For the purposes of this document, the following terms and definitions apply.
3.1
corrugated fibreboard
board consisting of one or more sheets of fluted paper glued to a flat sheet of board or between severalsheets
[ISO 4046-4:2002, definition 4.49]
3.2
single sheet thickness corrugated fibreboard
distance between one surface of a corrugated fibreboard and the other, measured under an applied static load,using the test method specified in this International Standard
4Principle
Measurement of thickness of corrugated board under a specific static load by means of a high-precisionmicrometer.
5 Apparatus
5.1 Dead-weight micrometer, provided with two plane, parallel, circular pressure faces, between which the corrugated board is placed for measurement.
The pressure exerted between the pressure faces during the thickness measurement shall be 20 kPa ± 0,5 kPa.
NOTE Other methods exist that use alternative pressures; however, different loading pressures might not give the same results.
The two pressure faces shall form an integral part of the micrometer, such that one face is fixed (the anvil) and the other is movable, in a direction perpendicular to the plane of the fixed face, smoothly at a speed of 2 mm/s to 3 mm/s. One face shall be 35,7 mm ± 0,3 mm in diameter and the second face shall be of such a size that it is in contact with the whole area of the other face when the micrometer reads zero. Thus, a circular region of a test piece, 1 000 mm 2 ± 20 mm 2 (10 cm 2 ± 0,2 cm 2 ) in area, is subjected during the thickness measurement to the pressure exerted between the faces.
The instrument shall be sufficiently accurate to permit measurements to be made to the nearest 0,05 mm (see Annex A).
The performance requirements of the micrometer shall be such that, when calibrated according to the method given in Annex A, the micrometer complies with the required pressure of 20 kPa ± 0,5 kPa and the performance requirements as shown in Table 1 (see also 9.2).
