ASME B16.23 pdf download
ASME B16.23 pdf download Cast Copper Alloy Solder Joint Drainage Fittings: DWV
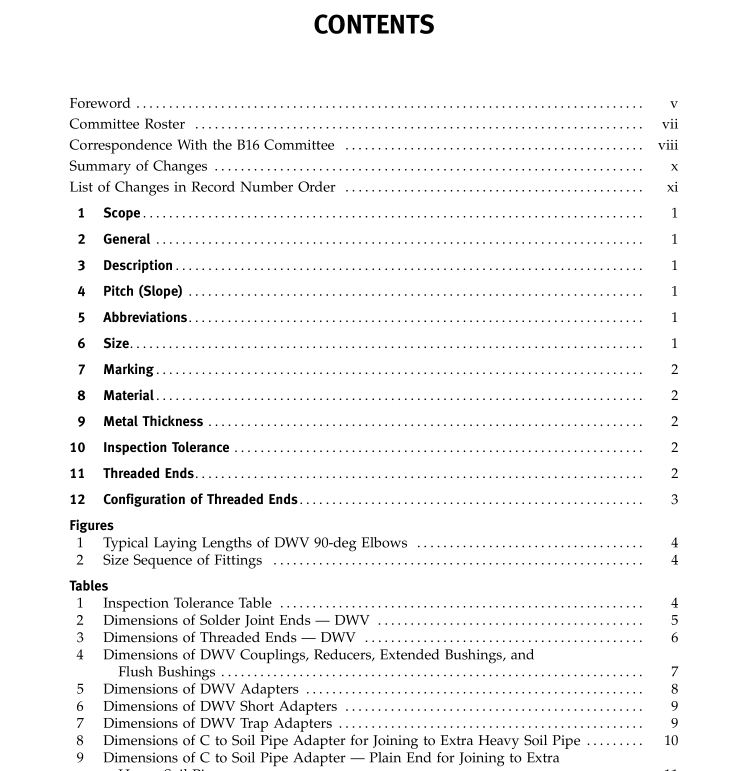
7 MARKING
(a) Each fittingshall be marked permanentlyand legi- bly with the manufacturer’s name or trademark and with “DWV” (to indicate Drain Waste Vent).
(b) Vent fittings shall be permanently marked “VENT ONLY” (See Tables 43, 44, I-43, and I-44) and show the manufacturer’s name or trademark in accordance with MSS SP-25. 8 MATERIAL Castings shall be copper alloy produced to meet (a) the requirements of ASTM B62 Alloy C83600; or
(b) the chemical and tensile requirements of ASTM B584 Alloy 83800 or 84400, and in all other respects comply with the requirements of ASTM B62.
9 METAL THICKNESS Dimensional variations will occur in the casting pro- cess. Patternequipment shall be designed to produce the metal thickness given for fittings in Table 2 or Table I-2. Any final fitting metal wall thickness less than 90% of the thickness given in the table is unacceptable.
10 INSPECTION TOLERANCE
10.1 Convention For determining conformance with this Standard, the convention for fixing significant digits where limits (maximum and minimum values) are specified shall be as defined in ASTM E29. This requires that an observed or calculated value be rounded off to the nearest unit in the last right-hand digit used for expressing the limit. Decimal values and tolerances do not imply a particular method of measurement.
10.2 Linear Dimensions DWV fittings covered by this Standard shall conform to the laying lengths specified in Tables 4 through 56 and Tables I-4 through I-56. An inspection tolerance, as shown in Table 1 or Table I-1, shall be allowed on center- to-shoulder, center-to-threaded end, and shoulder-to- threaded end dimensions on all fittings having internal solder (cup) ends; and on center-to-solder end, solder end-to-shoulder, and solder end-to-threaded dimen- sions on all fittings having external solder (fitting) ends. The largest opening in the fitting governs the tolerance to be applied to all openings. The inspection tolerance for laying length dimensions A, B, and C (in Table 4 or Table I-4) shall be double those shown above, except the minus tolerance applied to couplings; dimension A shall not result in a dimension less than 2.3 mm (0.09 in.). 10.3 Ovality Maximum ovality shall not exceed 1% of the maxi- mum diameters shown in Table 2 or Table I-2. The aver- age of the maximum and minimum diameters shall be within the dimensions shown in the table. 10.4 Alignment The maximum allowable variations in the regular alignment of all openings shall be 5 mm/m (0.06 in./ft).
10.5 Gaging of Solder Joint Ends
(a) Standard Gaging Method of Solder Joint Ends. The standard method of gaging the diameter tolerances for male and female ends shall be by the use of plain plug and ring gages designed to hold the product within the limits established in Table 2 or Table I-2.
